SFTP Server Connection Setup
SFTP Server Connection Setup Overview
SFTP servers allows users to transfer (large) files between two endpoints. All seoClarity domain profiles are setup with their own SFTP location that is unique for each domain. This allows for flat file integrations to be completed and large extracts to be exported. The SFTP can be connected to via the Web Interface or an FTP Client. To retrieve your SFTP credentials, navigate to the Settings page of a domain and find the integrations tab. Within the Integrations tab, find the option labeled "seoClarity SFTP", which will provide the necessary credentials to access the SFTP location.
SFTP Web Interface
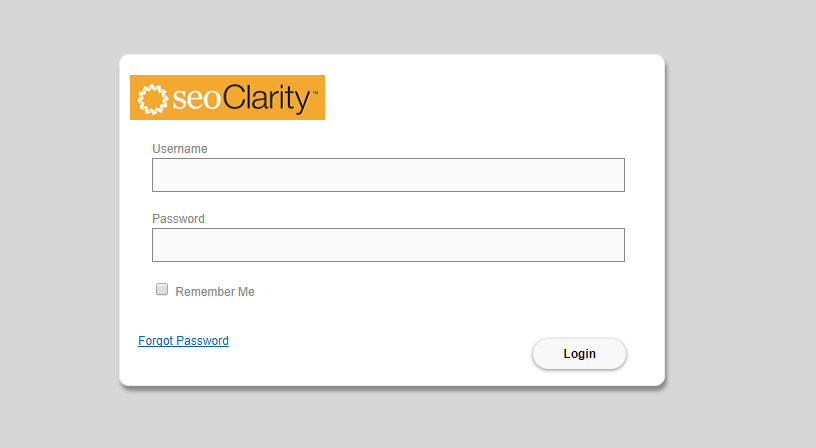
URL: https://ftpdash.seoclarity.net/WebInterface/login.html
Username: (unique domain id)
Password: (available via Integration settings)
FTP Client
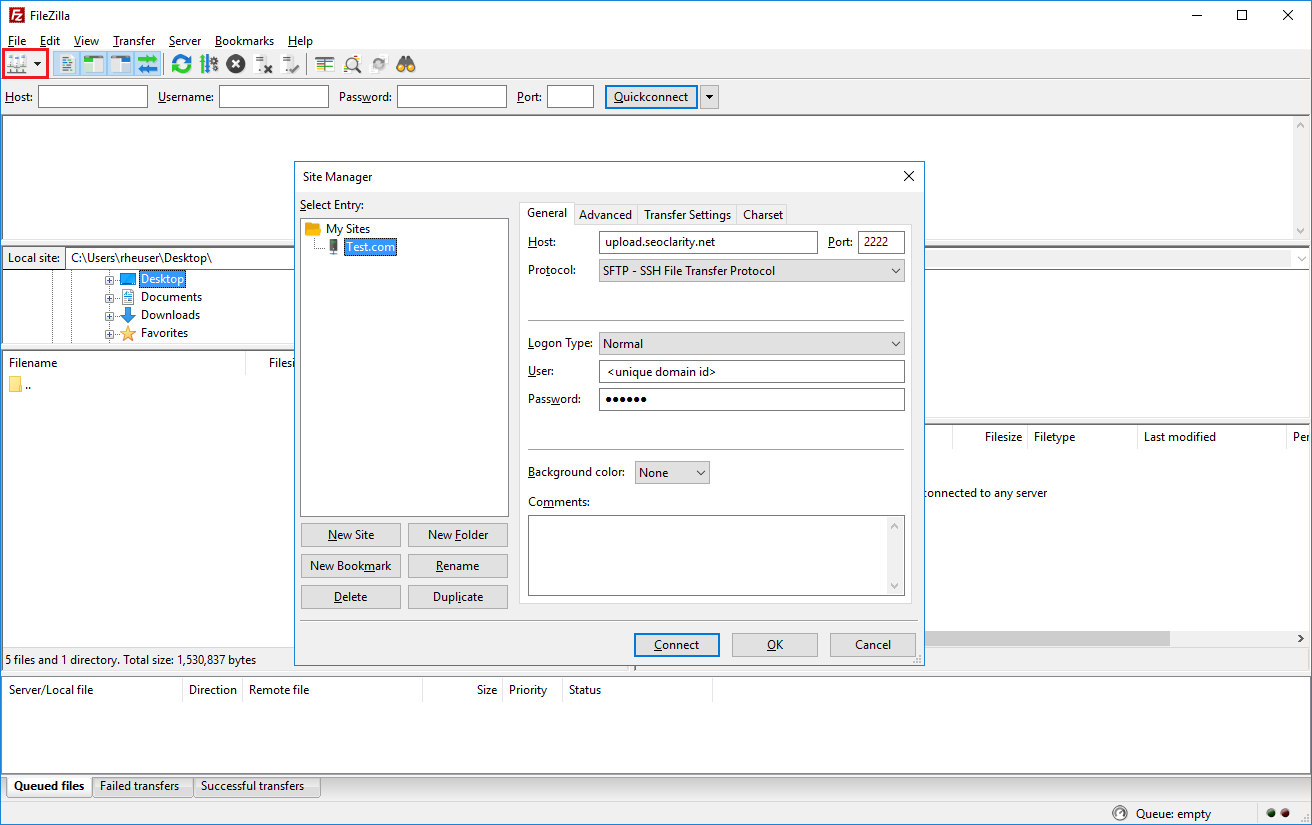
SFTP Client Access
Host: upload.seoclarity.net
Port: 2222
Protocol: SFTP - SSH File Transfer Protocol
Logon Type: Normal
User: (unique domain ID)
Password: (available via Integration Settings)
SFTP Command Line
Connect to the SFTP using Command: sftp -oPort=2222 upload.seoclarity.net
Once connected, enter the domain profile ID.
Once the domain profile ID has been entered, input the password (available via Integration Settings)
SFTP Retention Policy
Files placed on a seoClarity SFTP location are available for 30 days and are removed thereafter.